_SvIncludePlusContent-Okta Configuration for User Sync
Configuration in the Okta Web Console
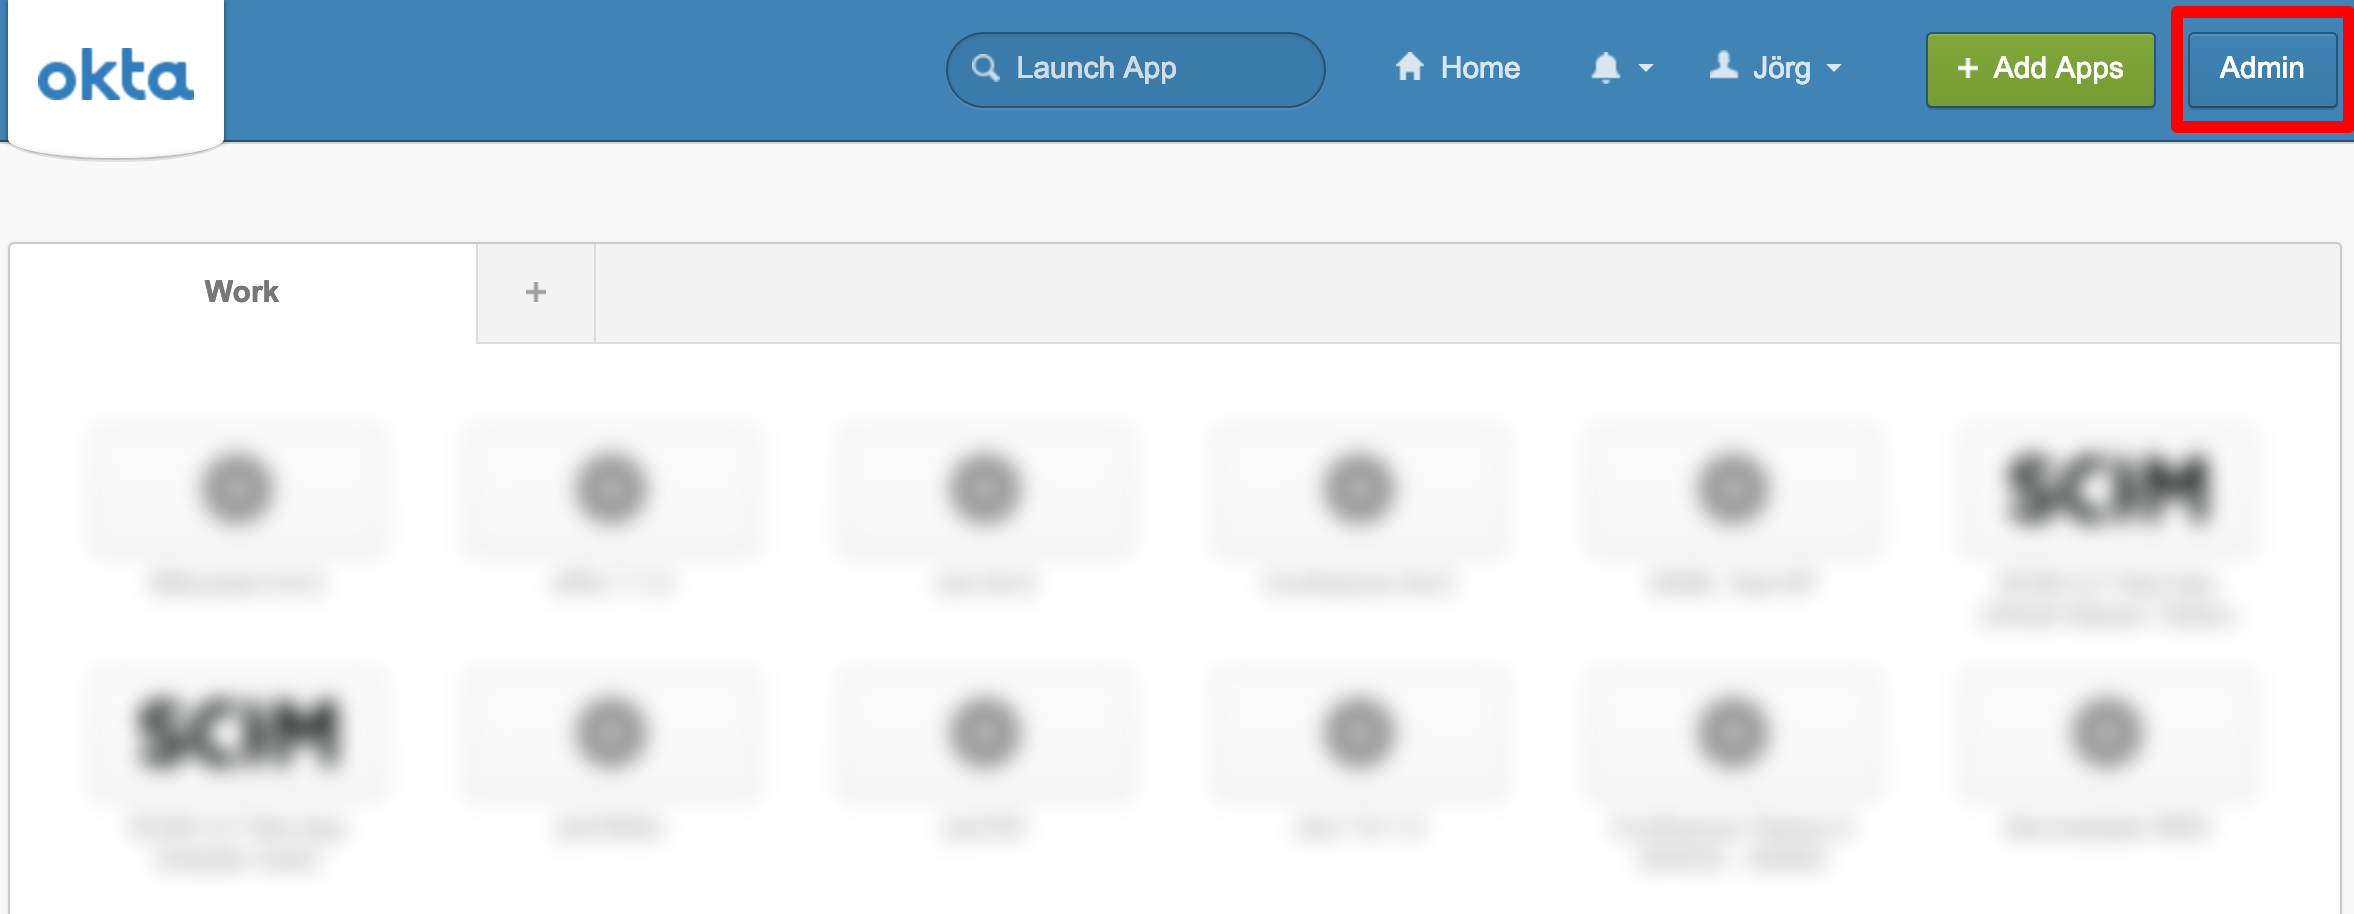
Login to your Okta organisation as a user with administrator privileges.
Any type of administrator role is fine. If you limit this administrator role to manage only specific groups,
only users in those groups are synced. API tokens have the same permissions as the user who creates them,
and if the user permissions change, the API token permissions will also change.
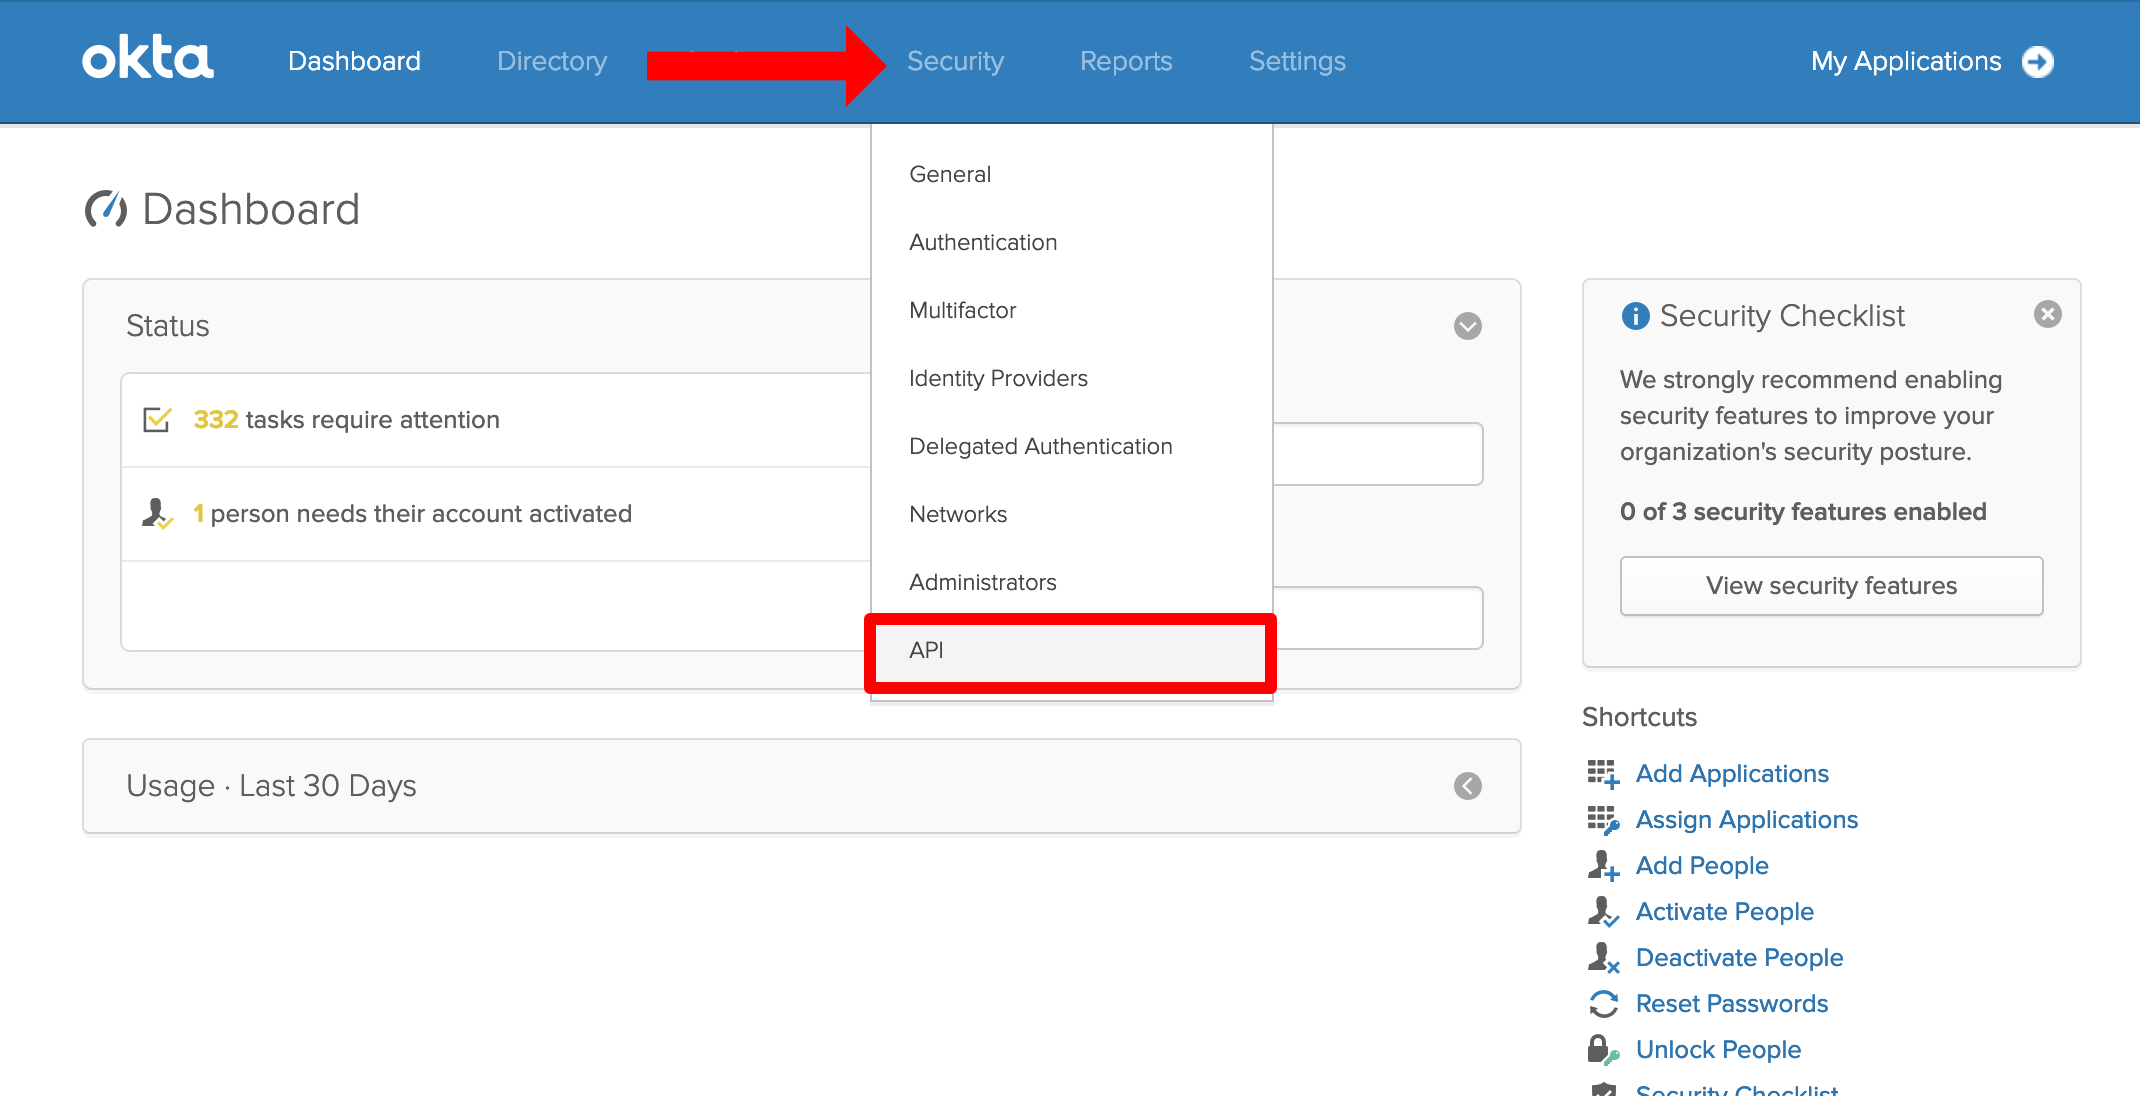
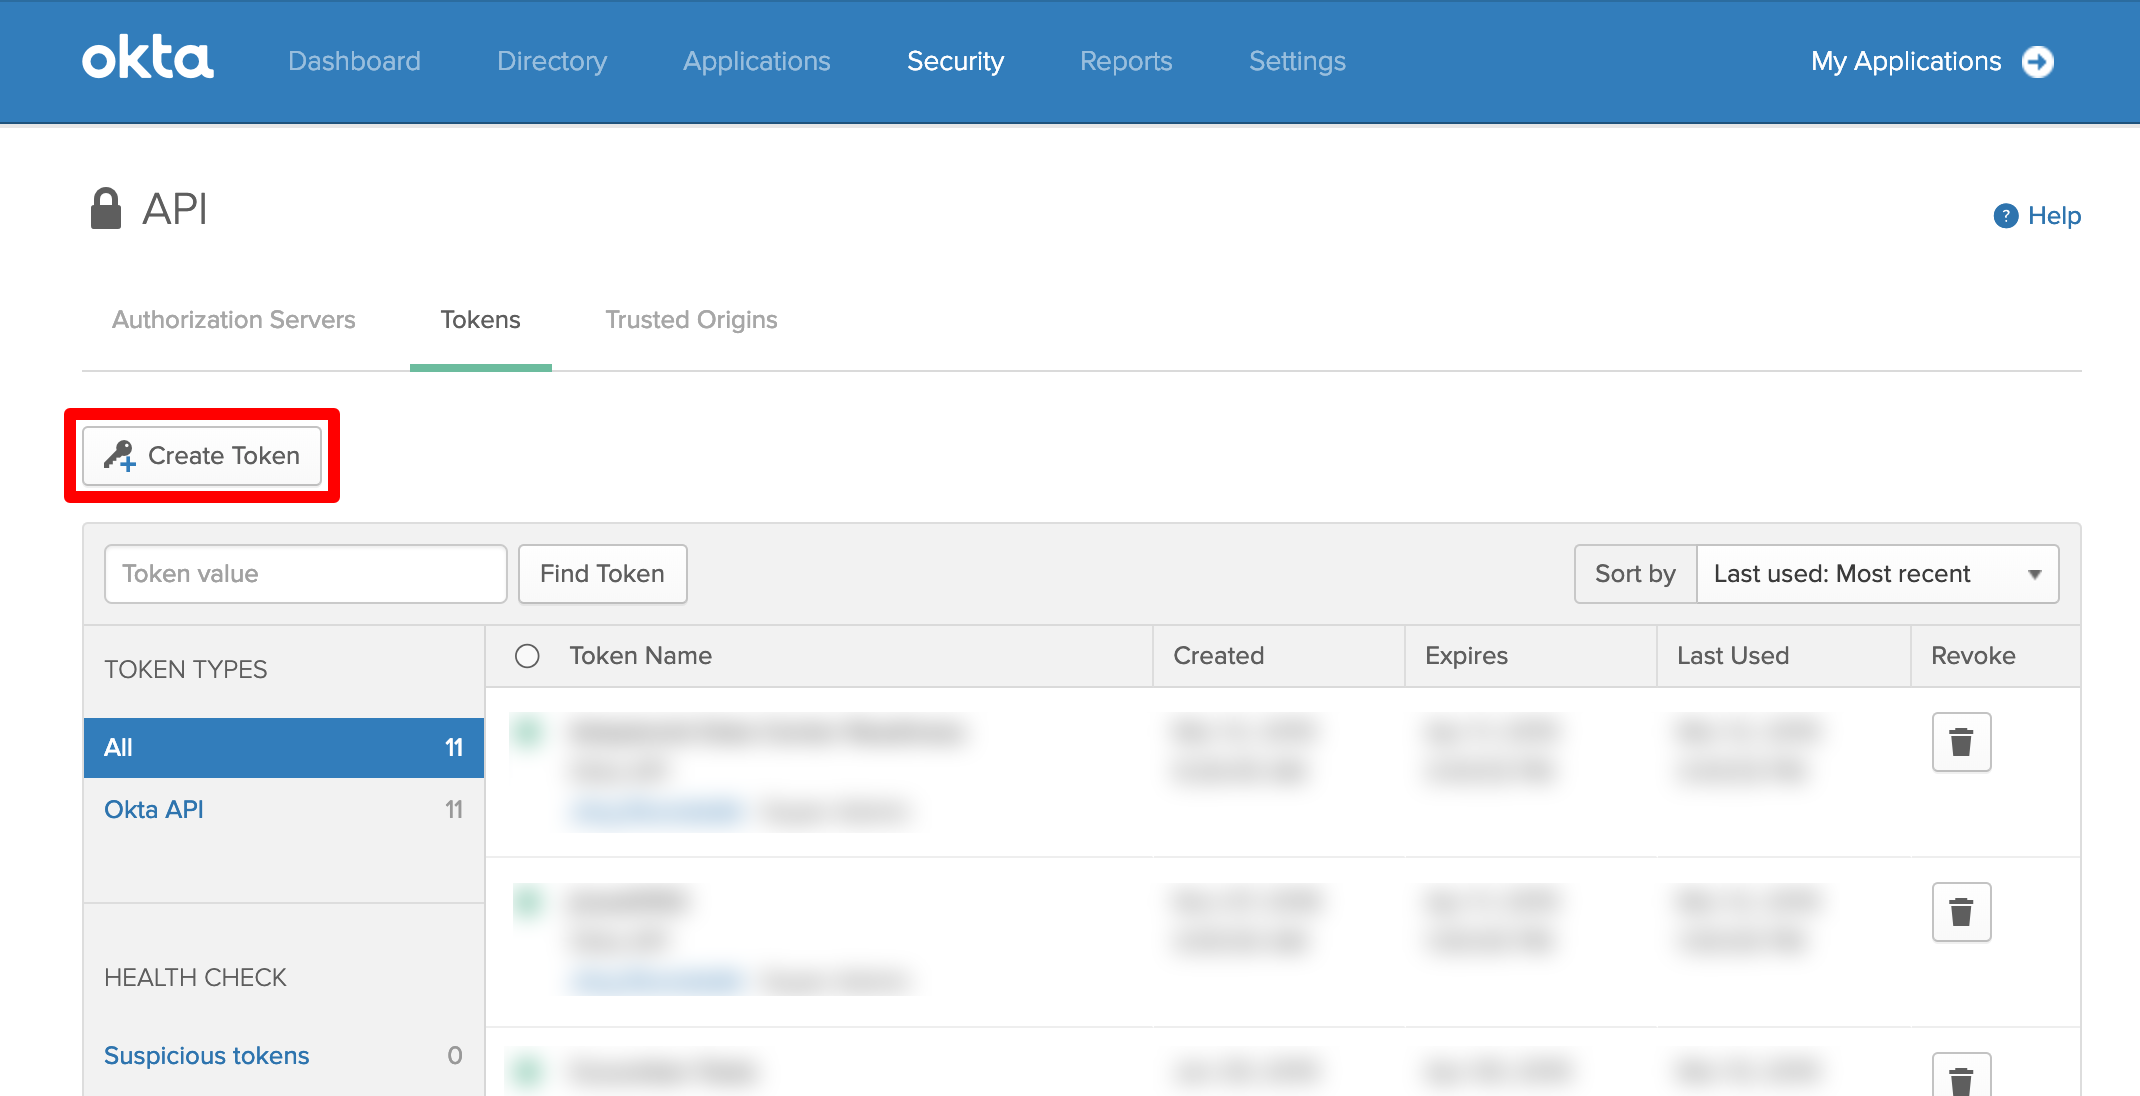
Hoover over Security and click on API.
Click on Tokens.
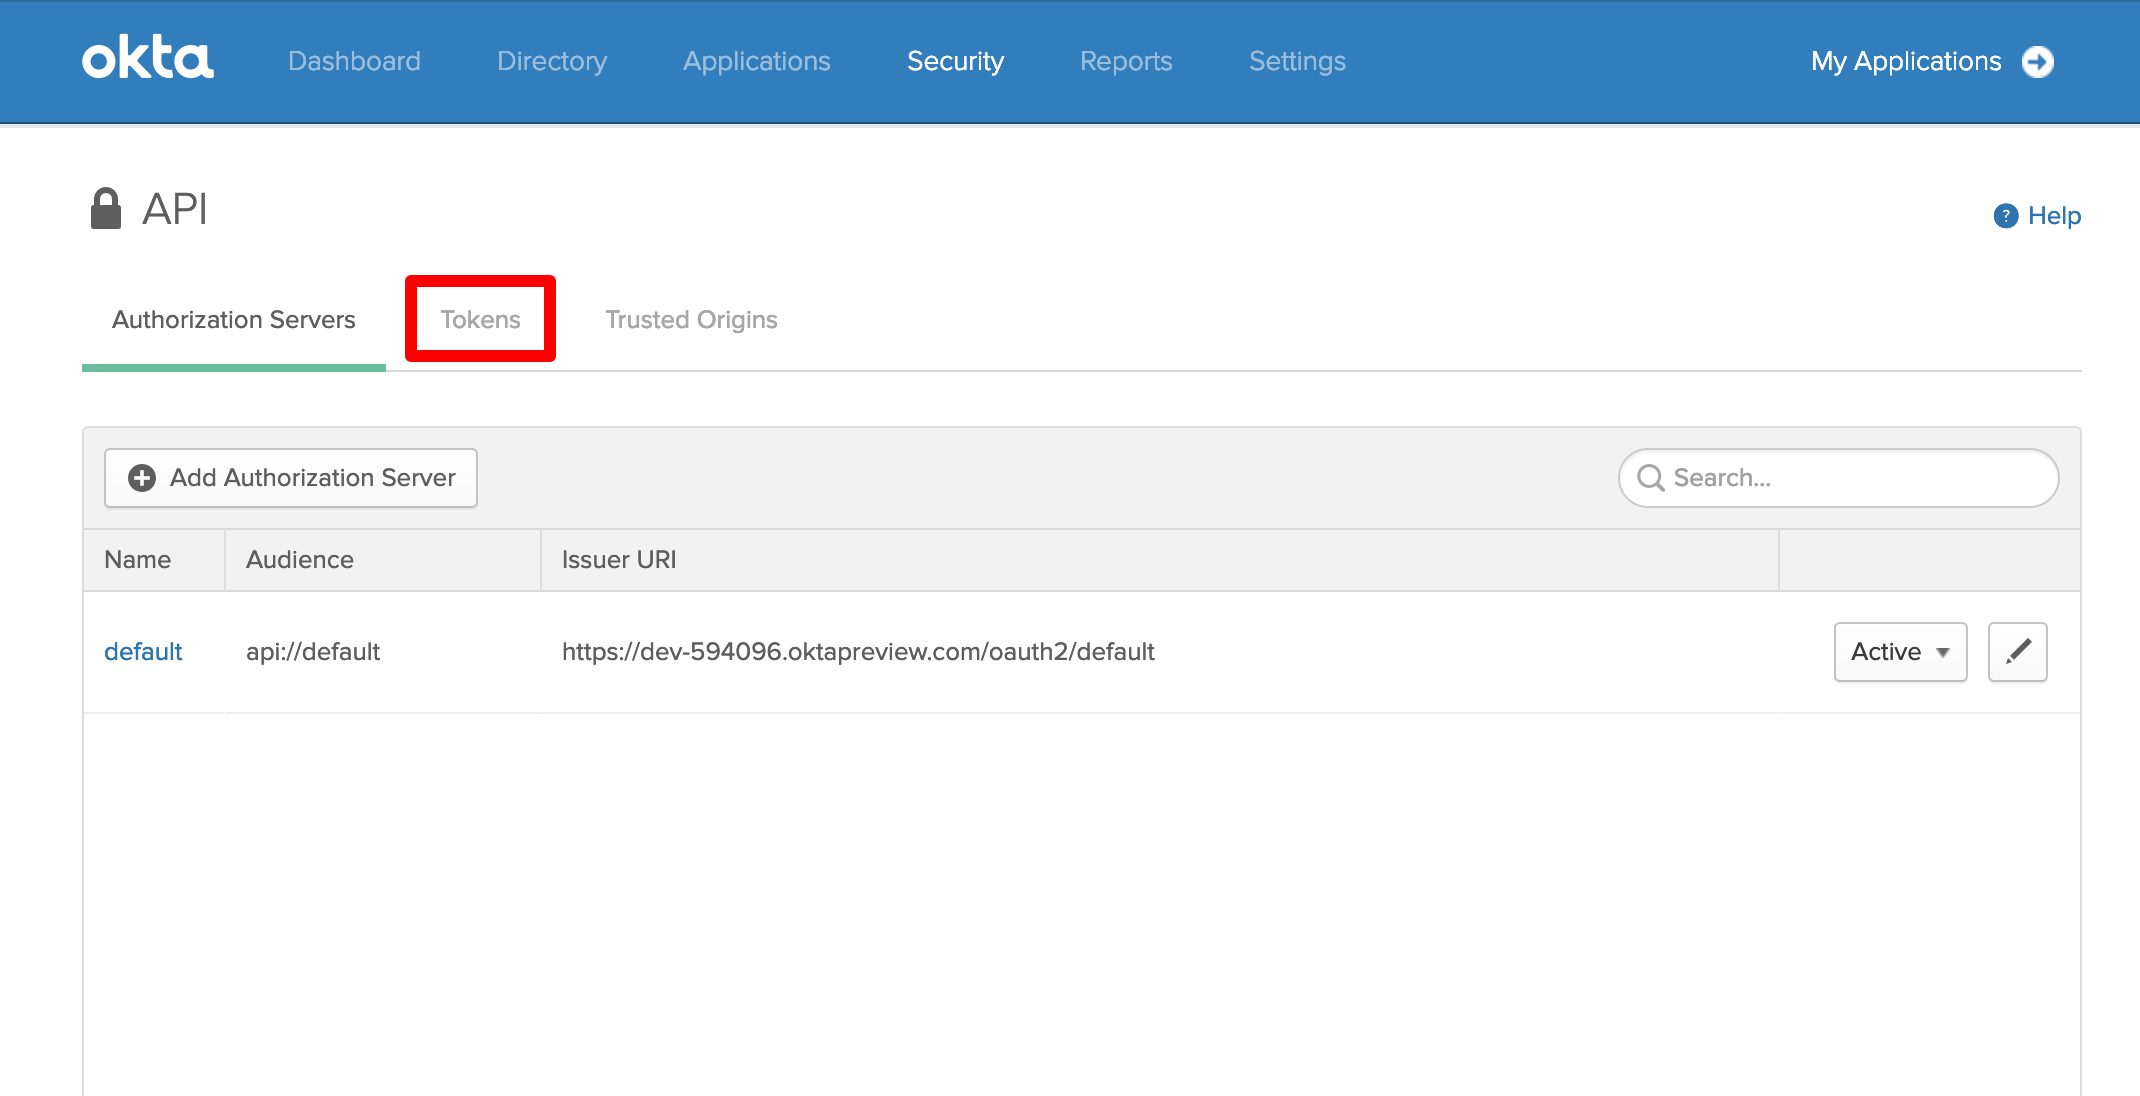
Click on Create Token.
Add a name for your token and click on Create Token:
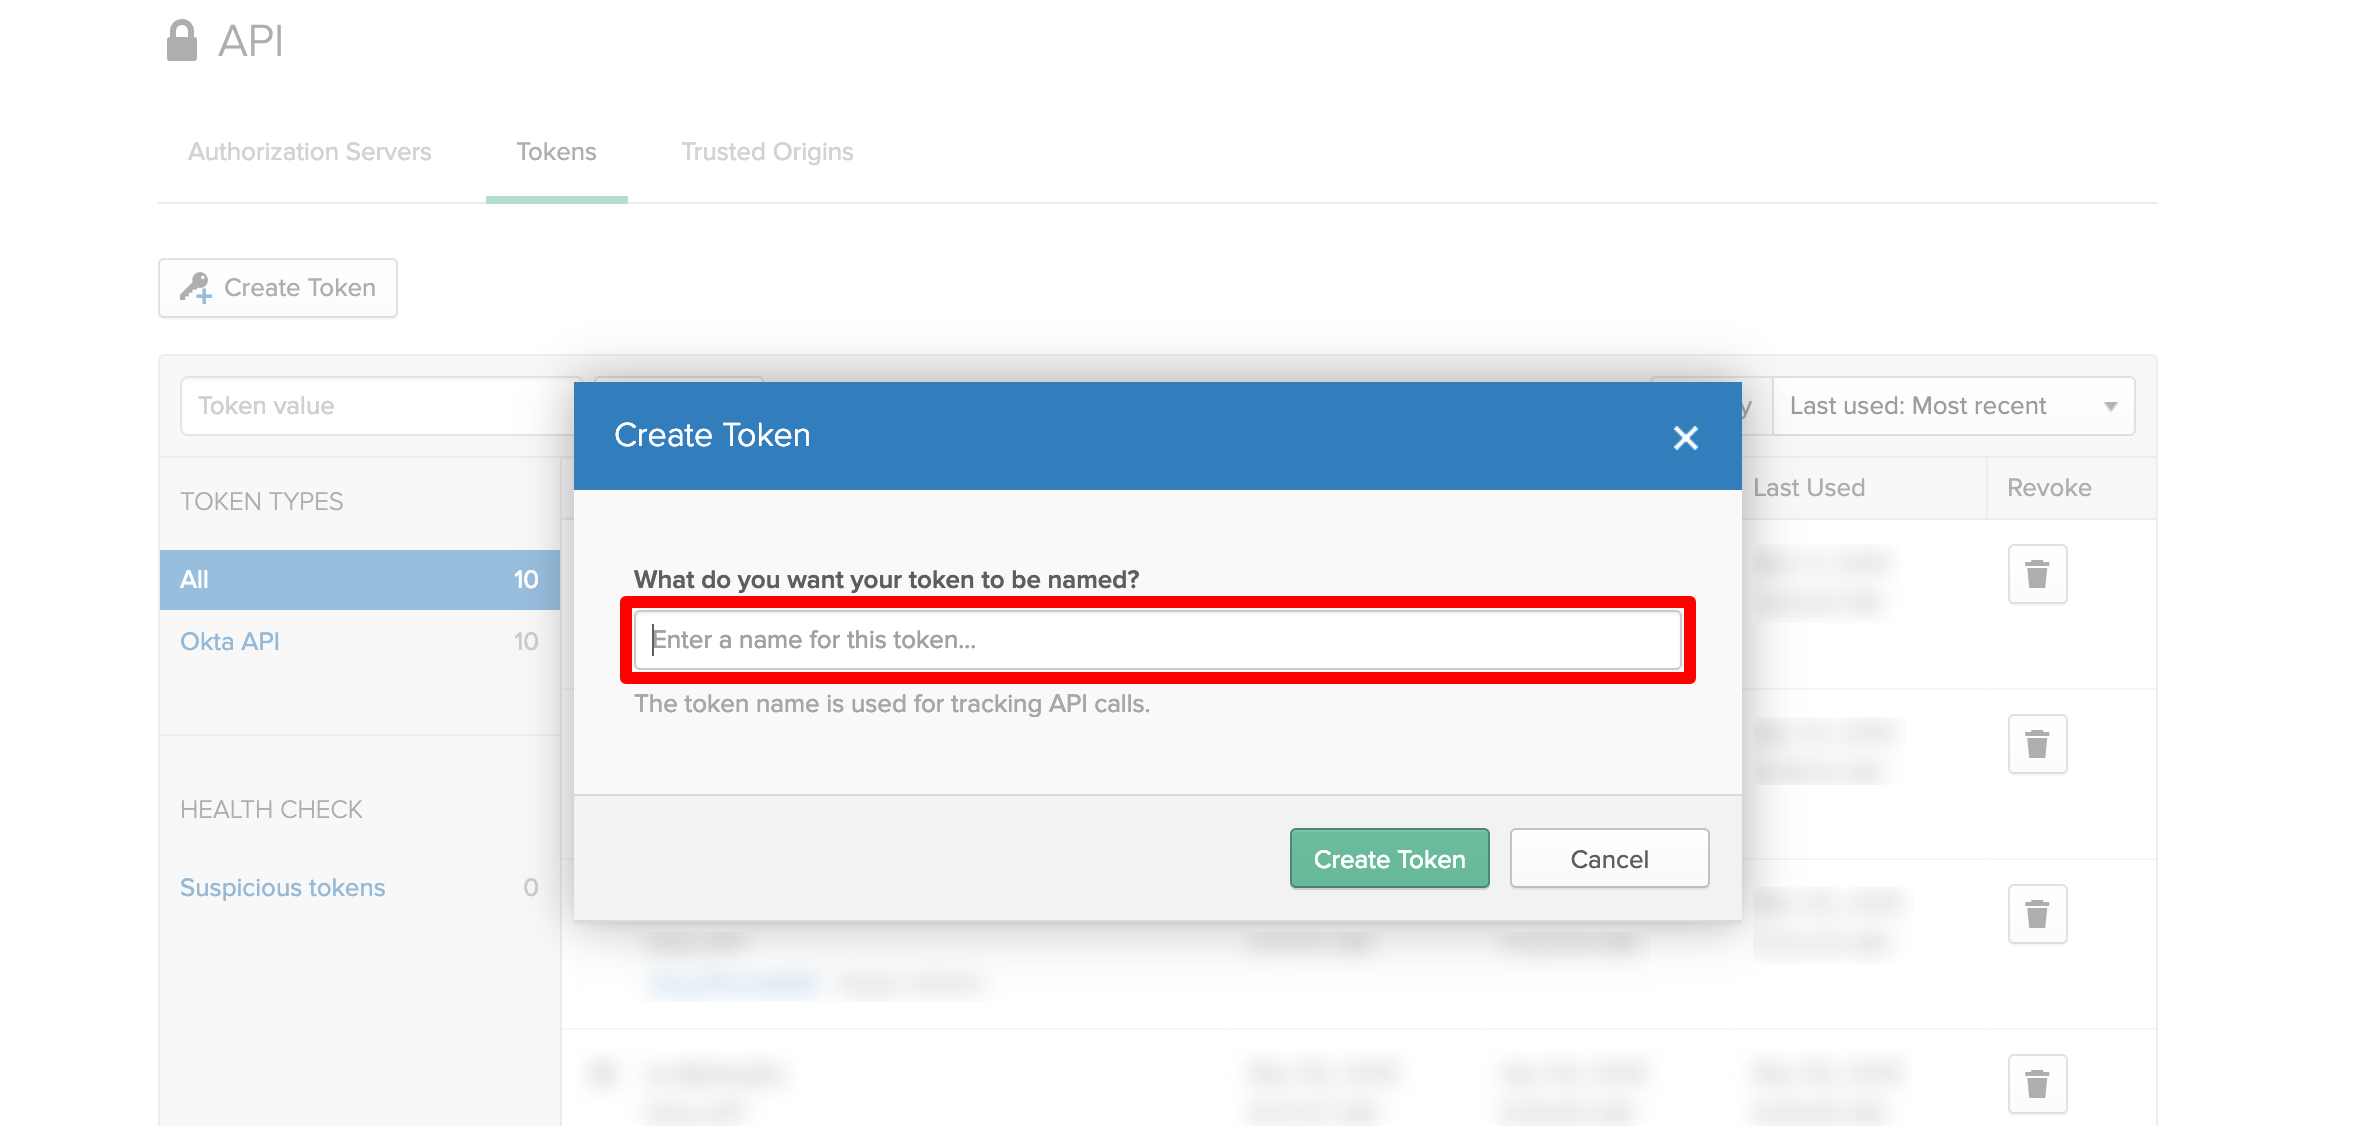
Now the token value will be displayed. Copy it since it will be only displayed once.
Of course you can create new token.

Configuration in User Sync Configuration page
Navigate to the administration console for Jira, Confluence or Bitbucket.
Confluence: search for USERS & SECURITY under which you'll find User Sync
Jira: navigate to the User management tab in which you'll find User Sync
Bitbucket: navigate to Administration/ Accounts you'll find User Sync listed here
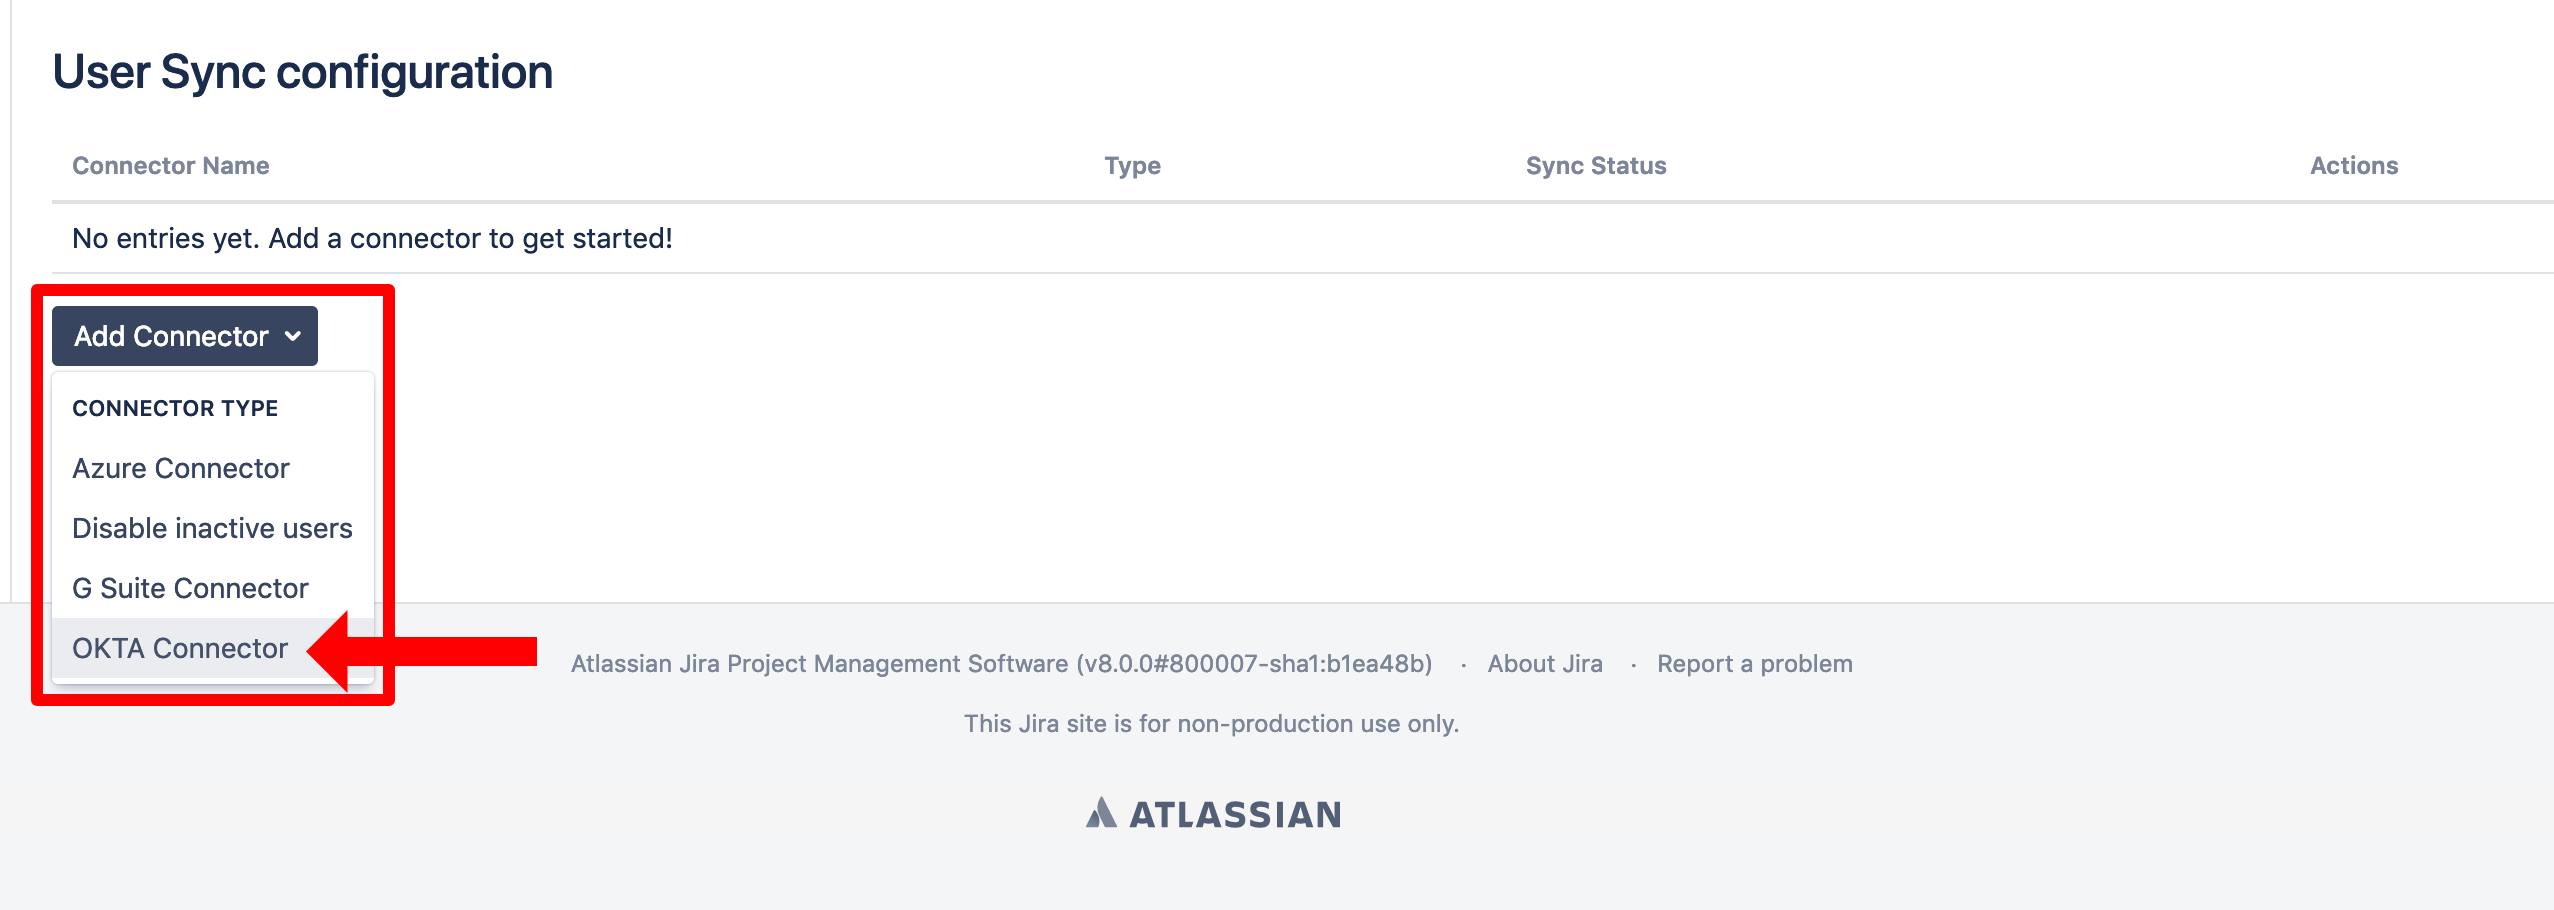
Click on Add Connector and choose OKTA Connector.
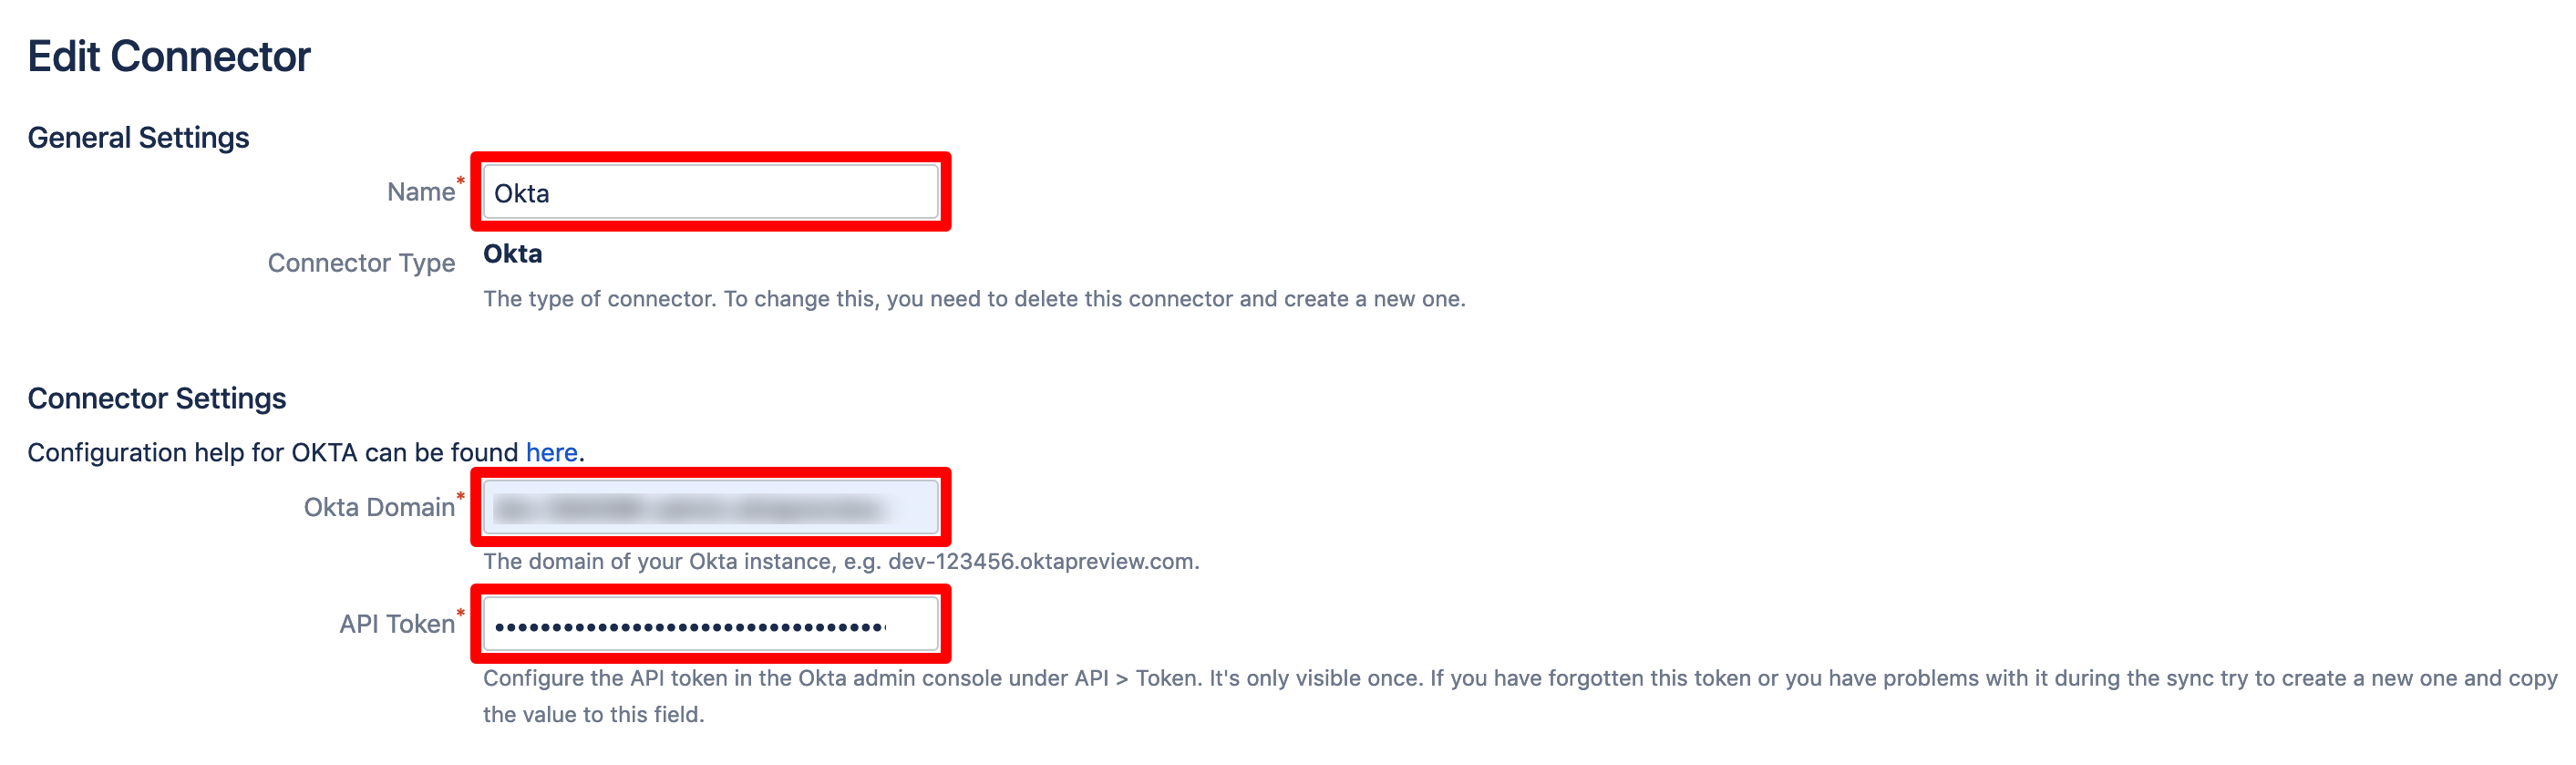
Set a name, insert your Okta Domain without https:// and enter the token value from before for the API Token.
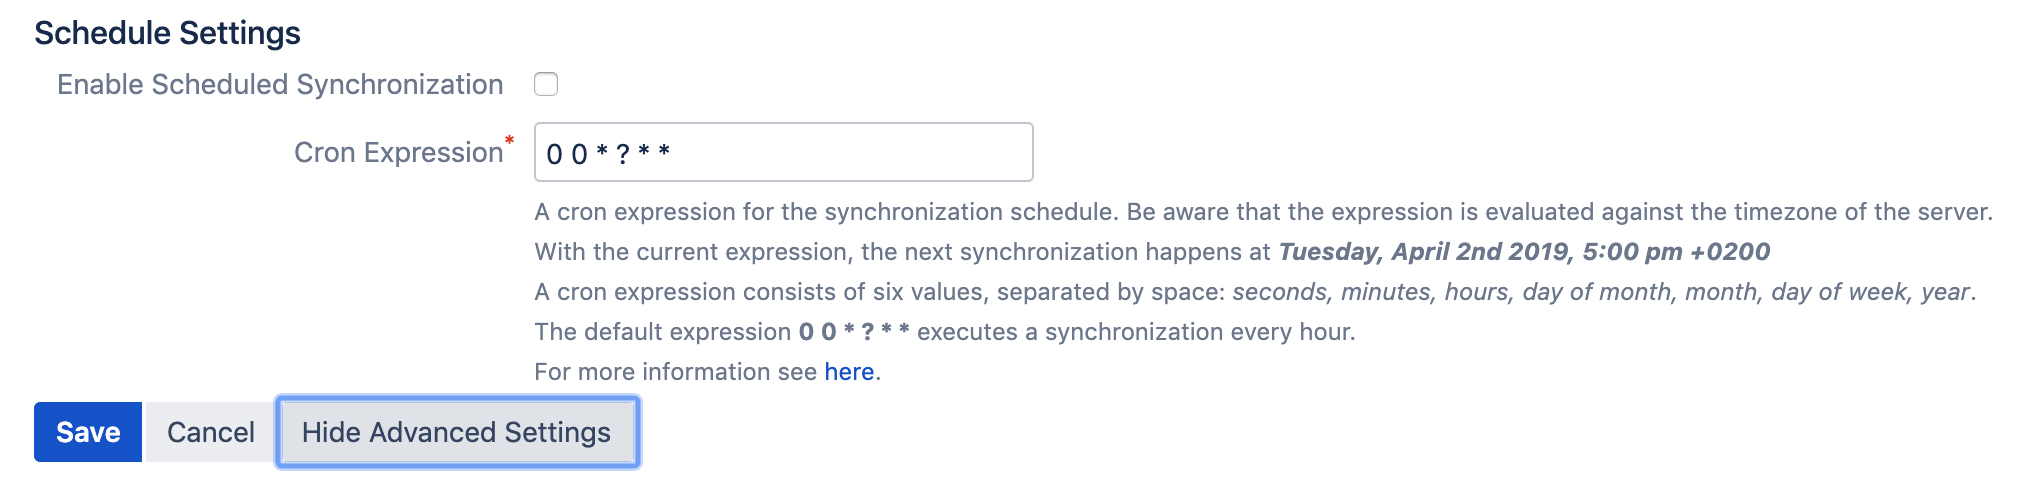
To schedule a periodic synchronization of your Okta directory with User Sync, click on Show Advanced Settings at the very bottom of the page.
Enable Scheduled Synchronization needs to be ticked, the default cron expression would then cause a sync every hour.